New collection, Unika & Watercolor Overlay Photoshop tutorial!
- Nov 27, 2018
- 3 min read
Updated: Dec 1, 2020
Hi everyone!
I would like to introduce you to my new Font and Texture design set, Unika.
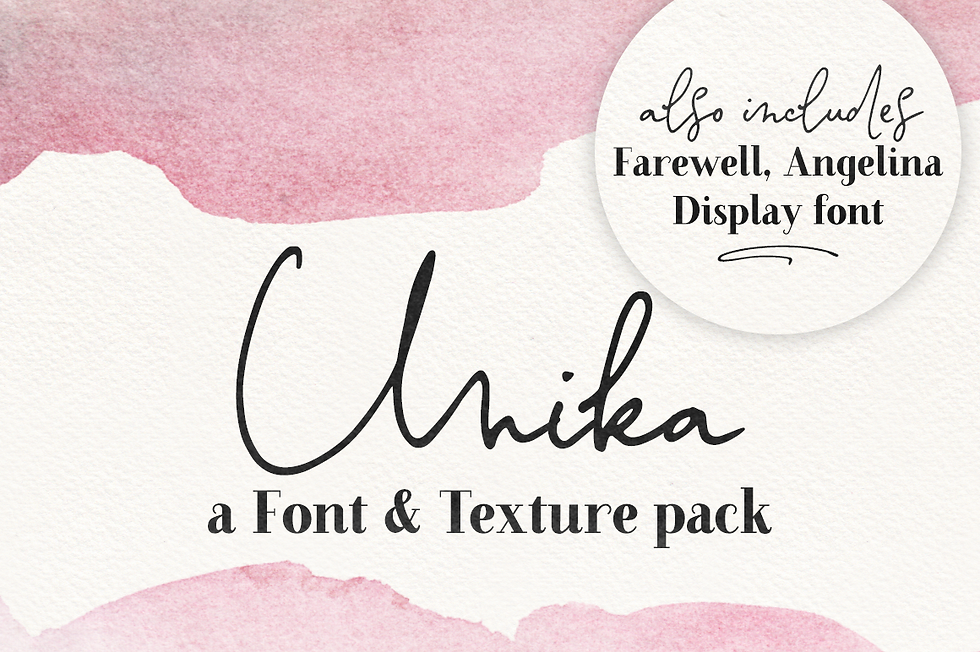
Unika is a beautiful set that includes all you need to achieve elegant and feminine designs:
a signature font family with: regular, italic and swashes
a bonus serif font in 3 weights and small caps
a set of 6 seamless paper textures that are the perfect canvas for your work
a set of 12 colorful watercolor textures
a set of 22 handmade watercolour brushes


Unika is perfect for beautiful and easy designs with a handwritten feel, such as postcards and notes, creating logotypes, social media posts, branding and packaging, etc.


Sound good? You can get this set at a special intro discount at Creative Market and The Hungry JPEG. You can also follow this link for an additional 20% off at Creative Market this week. Go check it out!
Not sure how to use the textures and brushes? No problem! Here is a simple tutorial that will help get you started. It takes you step by step to overlay the watercolor textures over the brushes.
If you haven't purchased this pack, you can download a sample texture and brush here to get started. Then follow these easy steps:
Start by creating a blank canvas. For this tutorial I used a new document with width=2500 px and length=3500 px, since we will be using a brush that is on the long side.
Then we load the brush files. If you purchased the set, you can just load the ABR file and all the brushes will be loaded together (and you can skip step 3). If you are using the free sample, start by opening the transparent PNG.


Next you set it as a brush, by going to : Edit >> Define Brush Preset >> OK.

You can then close the PNG file and go back to your blank canvas. Start by creating a new blank layer.

Then, while on the new layer, select the brush tool, make sure you are using the brush we have just loaded and stamp it on the blank layer.

We are now going to grab the free texture that we will use to overlay on the brush. Start by opening the PNG file.


Then we define it as a pattern: Edit >> Define Pattern >> OK.

We can now go back to our canvas where we have the brush and give it some color. For that we right-click on the layer with the brush and select “Blending options”.

We can start by trying a simple “Color Overlay”, where we apply a solid color.

Then, a “Gradient Overlay”, where we apply (you guessed it!) a gradient.

And finally our “Pattern Overlay” where we will use out watercolor texture. We start by selecting our texture in the Patterns box.

Then we can adjust it by changing the blending options and the scale of the pattern. This will depend on your preference and on the texture you are using, so you can play around with it. When you are happy with the look of your brush stamp, just hit OK.

And that’s it! So easy, right?
I hope this will help you make the most of this brush and texture set, but don't hesitate to ask me any additional questions.
Have a great week, everyone!
Ana


Comments