New font & tutorial! Wistar Typewriter
- Jul 16, 2023
- 2 min read
Hi everyone!
Today I want to introduce to my new typewriter font collection, Wistar typewriter, named for the lab rat featured in the PhD thesis I used to sample the font 🐁.

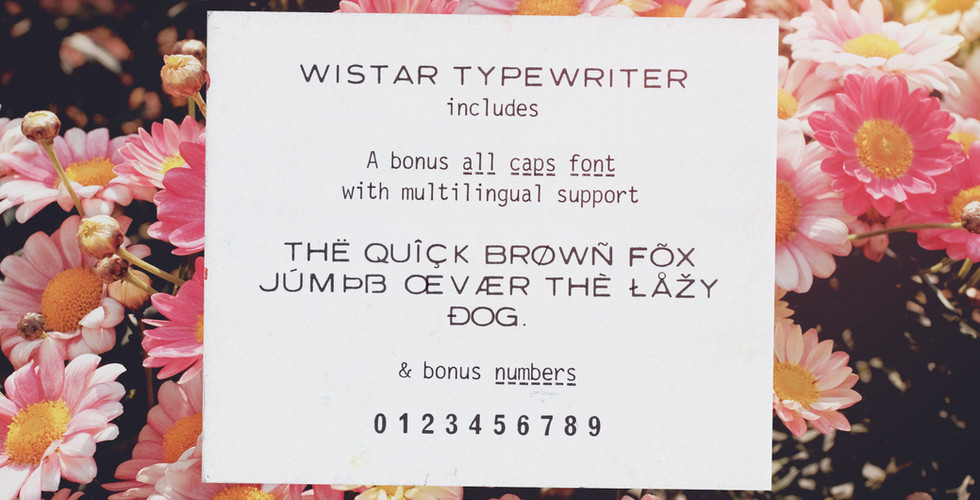
Wistar Typewriter is a monospaced typewriter font in two styles: Regular and Faded, in both vector and SVG versions, with dashed line and underline alternatives and a bonus caps font, for a total of 14 fonts. In combination with a set of vintage graphic elements and paper textures, this font family is so versatile and ready to use in modern and retro designs alike. This font is also very legible at a wide range of sizes and looks great in both long or short texts, in digital collages, branding and packaging, social media posts, logotypes, etc.


Included in this product:
Wistar Typewriter font family with 14 individual fonts, with a soft realistic texture
10 high resolution paper textures from vintage papers (PNG and JPEG files with minimum width of 1396 px, scanned at 600 dpi)
34 graphics from vintage materials ( in transparent PNG and Photoshop ABR files)


Software requirements for the SVG font: Photoshop CC2017+ // Illustrator CC2018+
No SVG support? No problem! The font includes a vector version of the font that keeps its textured goodness.
Demo: How to make a vintage collage in Photoshop?
Need some inspiration? Here is a demo of how I used this font and textures and graphics collection to make a retro collage.
Step by step guide of the demo:
Start by opening a new file. I made mine A6 or postcard size and 300 dpi and CMYK in case I want to print my final design.
I start with the background. I drag the texture I want for my base, chosen from the 10 hi-res paper scans included as a bonus in my new Wistar font, and adjust its size.
Then I add a photo that I have already worked on to remove the background. The photo and the floral and bird illustrations that I will use in this design were all found on Unsplash and belong to the Australian National Maritime Museum, the New York Public Library and the Boston Public Library.
I choose a flower for the back and a bird, a parrot, keeping in mind the summer and red look I am going for. I quickly remove the background from the bird and place it below the photo and adjust its position.
I then add another texture on top and adjust its size and center it.
It's time to add some vintage graphics. I first choose these fun arrows that I will tie with the text that I add in the font Wistar. I first use the Wistar Bonus font, which is an impactful all caps sans. Then go for Wistar Regular SVG. I also love the way the Wistar Bonus numbers look, so I add the year.
Finally, the background is looking a little empty, so I add some plots to it. I don't want them to be too overpowering, so I rasterize them and erase some areas over the flowers.
And we're done!
If you would like to check out some more of my tutorials for inspiration, please visit this page!
Hope you have a great week,
Ana


Comments